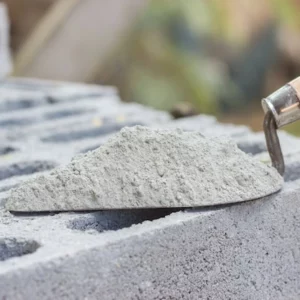
Description
How to Use:
- Prepare the surface before applying.
- Follow the manufacturer’s instructions for mixing gypsum putty. Add the required clean water to the putty in a clean bucket or container. Use a mixing paddle or trowel to blend the mixture thoroughly until you achieve a smooth, lump-free consistency.
- Apply a thin coat of gypsum putty onto the prepared surface using a stainless steel or plastic trowel. Work in small sections to ensure even application and prevent the putty from drying too quickly. Working with a team to maintain a consistent finish for larger areas is best.
- Levelling and Smoothing once the putty is applied. Use a trowel or putty knife to level and smooth the surface. Work in long, even strokes to create a uniform and seamless finish. Pay extra attention to corners and edges to achieve a clean look.
- Allow the first coat of gypsum putty to dry completely before applying subsequent coats. The drying time may vary depending on environmental conditions, so refer to the manufacturer’s guidelines for accurate drying times.
- Sanding (Optional)- You may lightly sand the dried putty surface for an extra smooth finish. Use fine-grit sandpaper and be gentle to avoid damaging the surface. Wipe away any dust after sanding.
- Additional Coats (if needed)
- Final Finish. Touch up and refine as needed to achieve the desired finish.
- Before painting, apply a suitable primer to the gypsum putty surface to enhance paint adhesion and ensure a long-lasting finish. Once the primer is dry, proceed with your chosen paint or finish.

